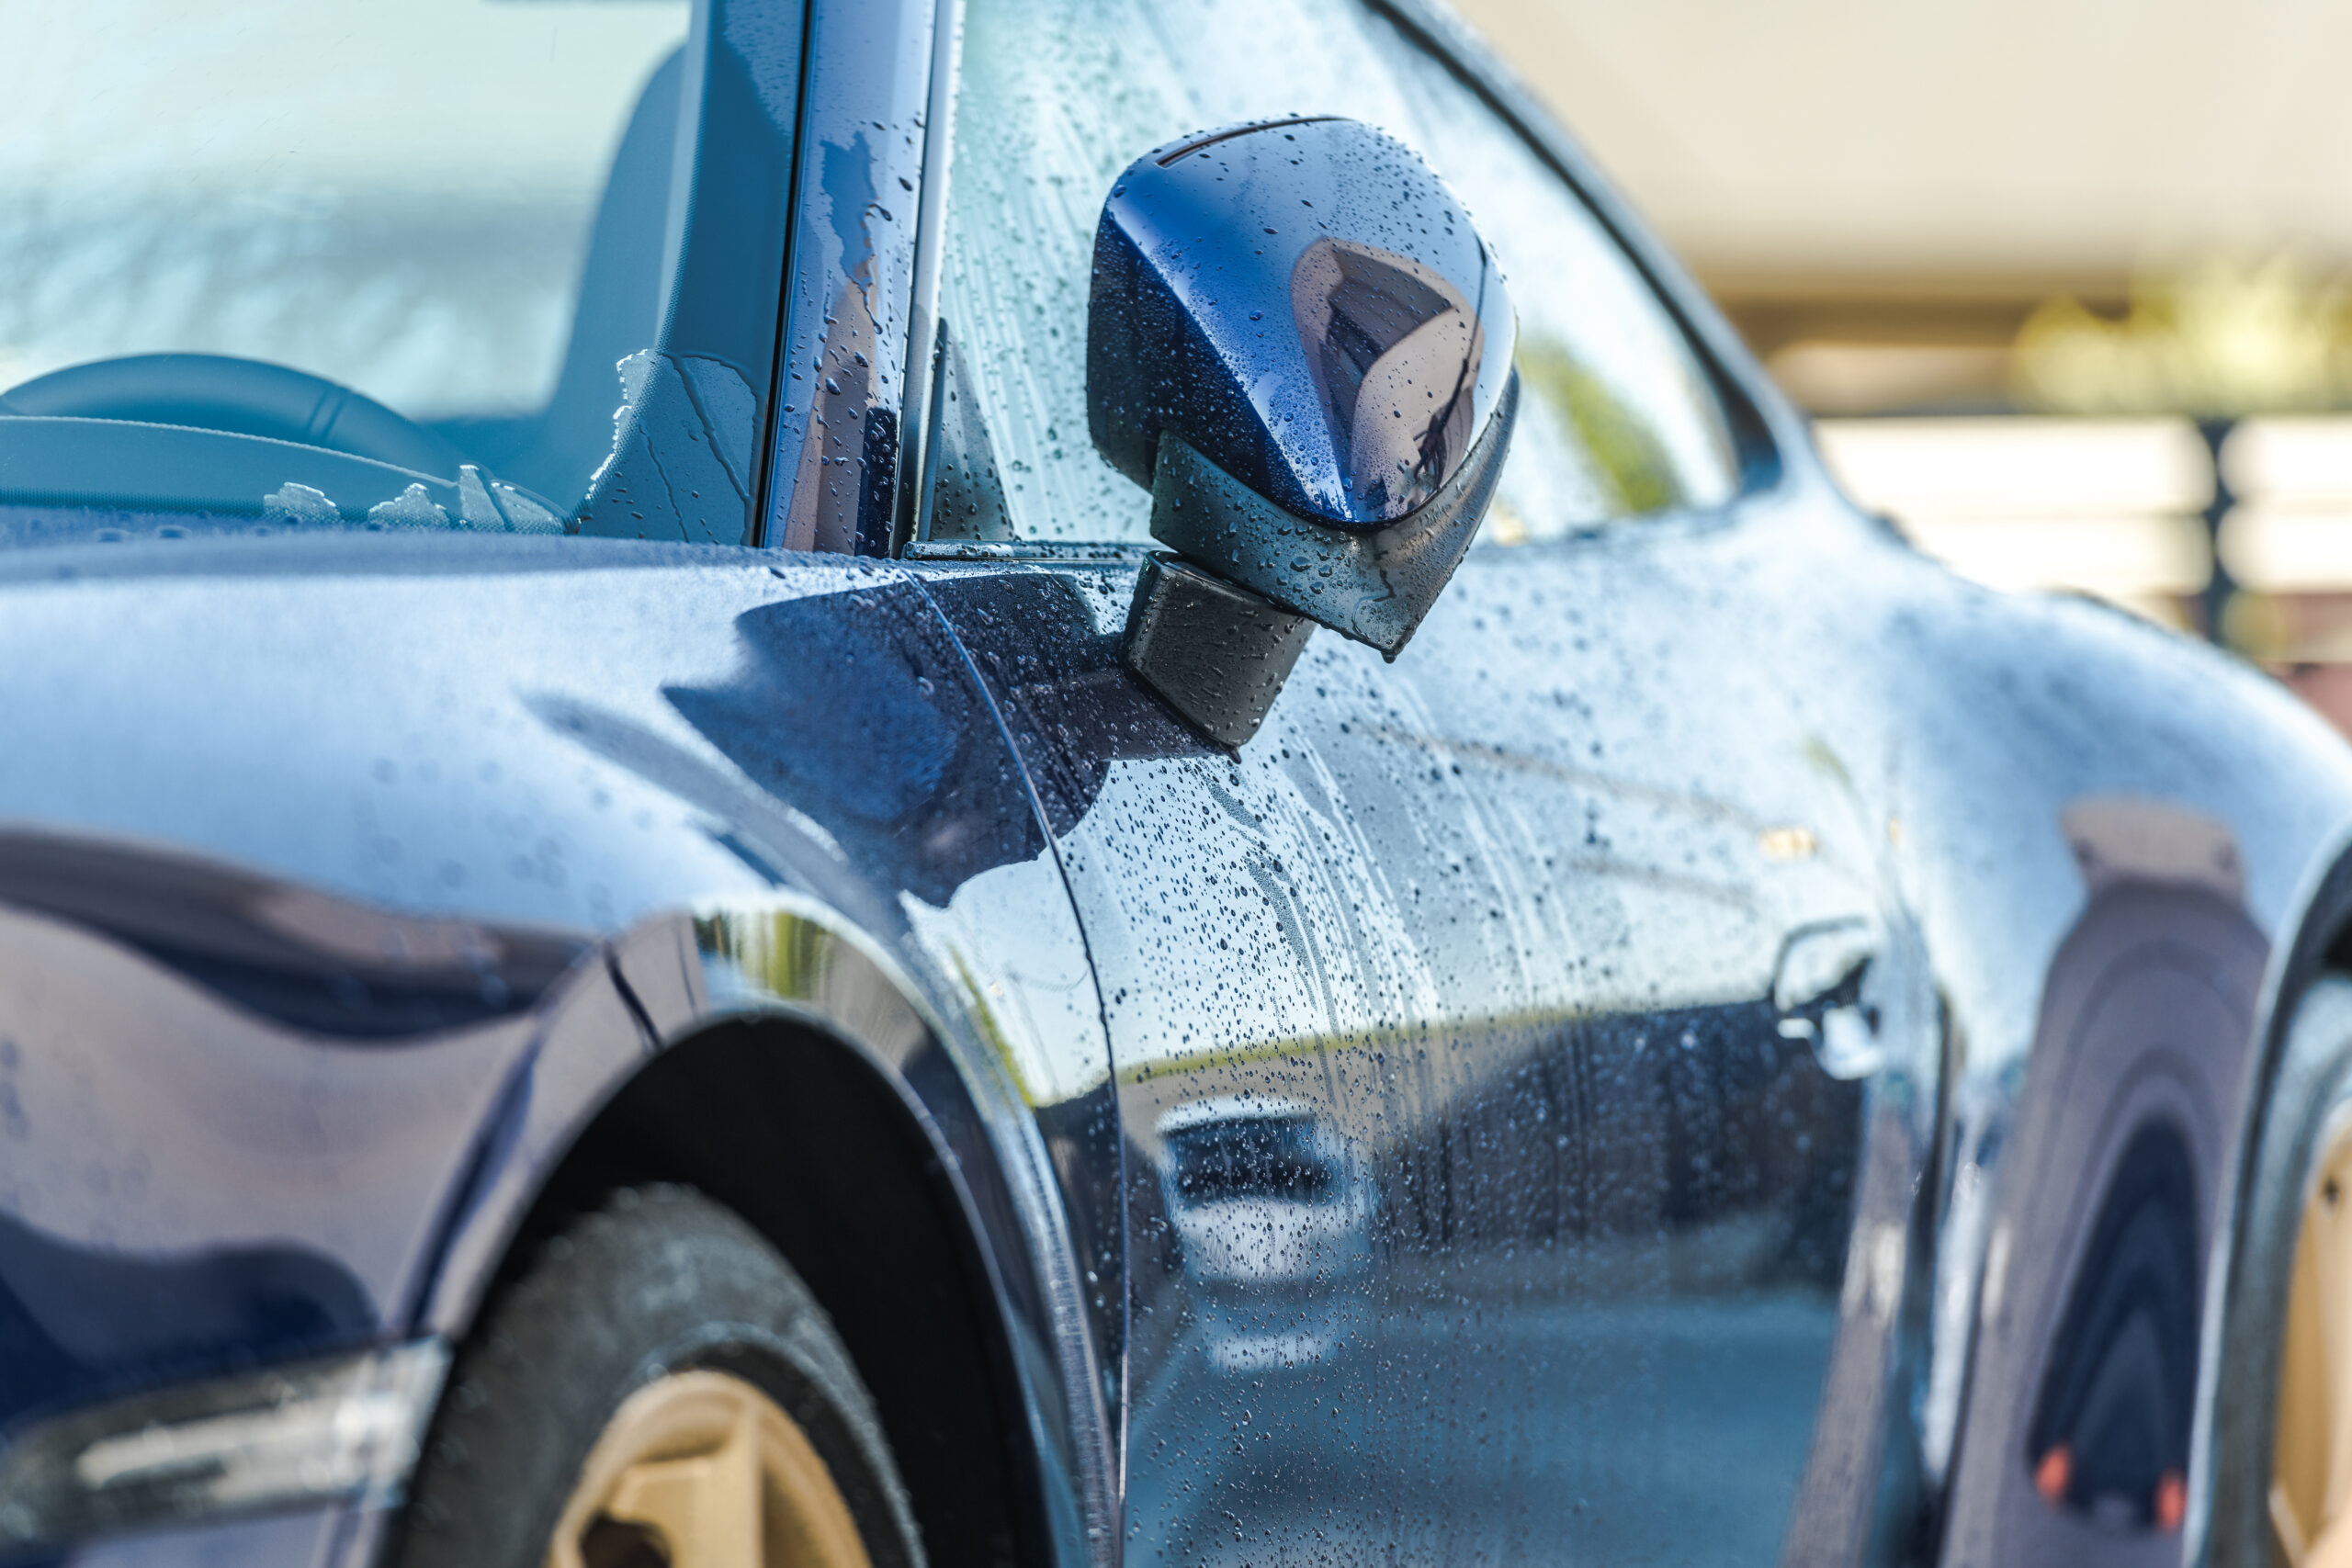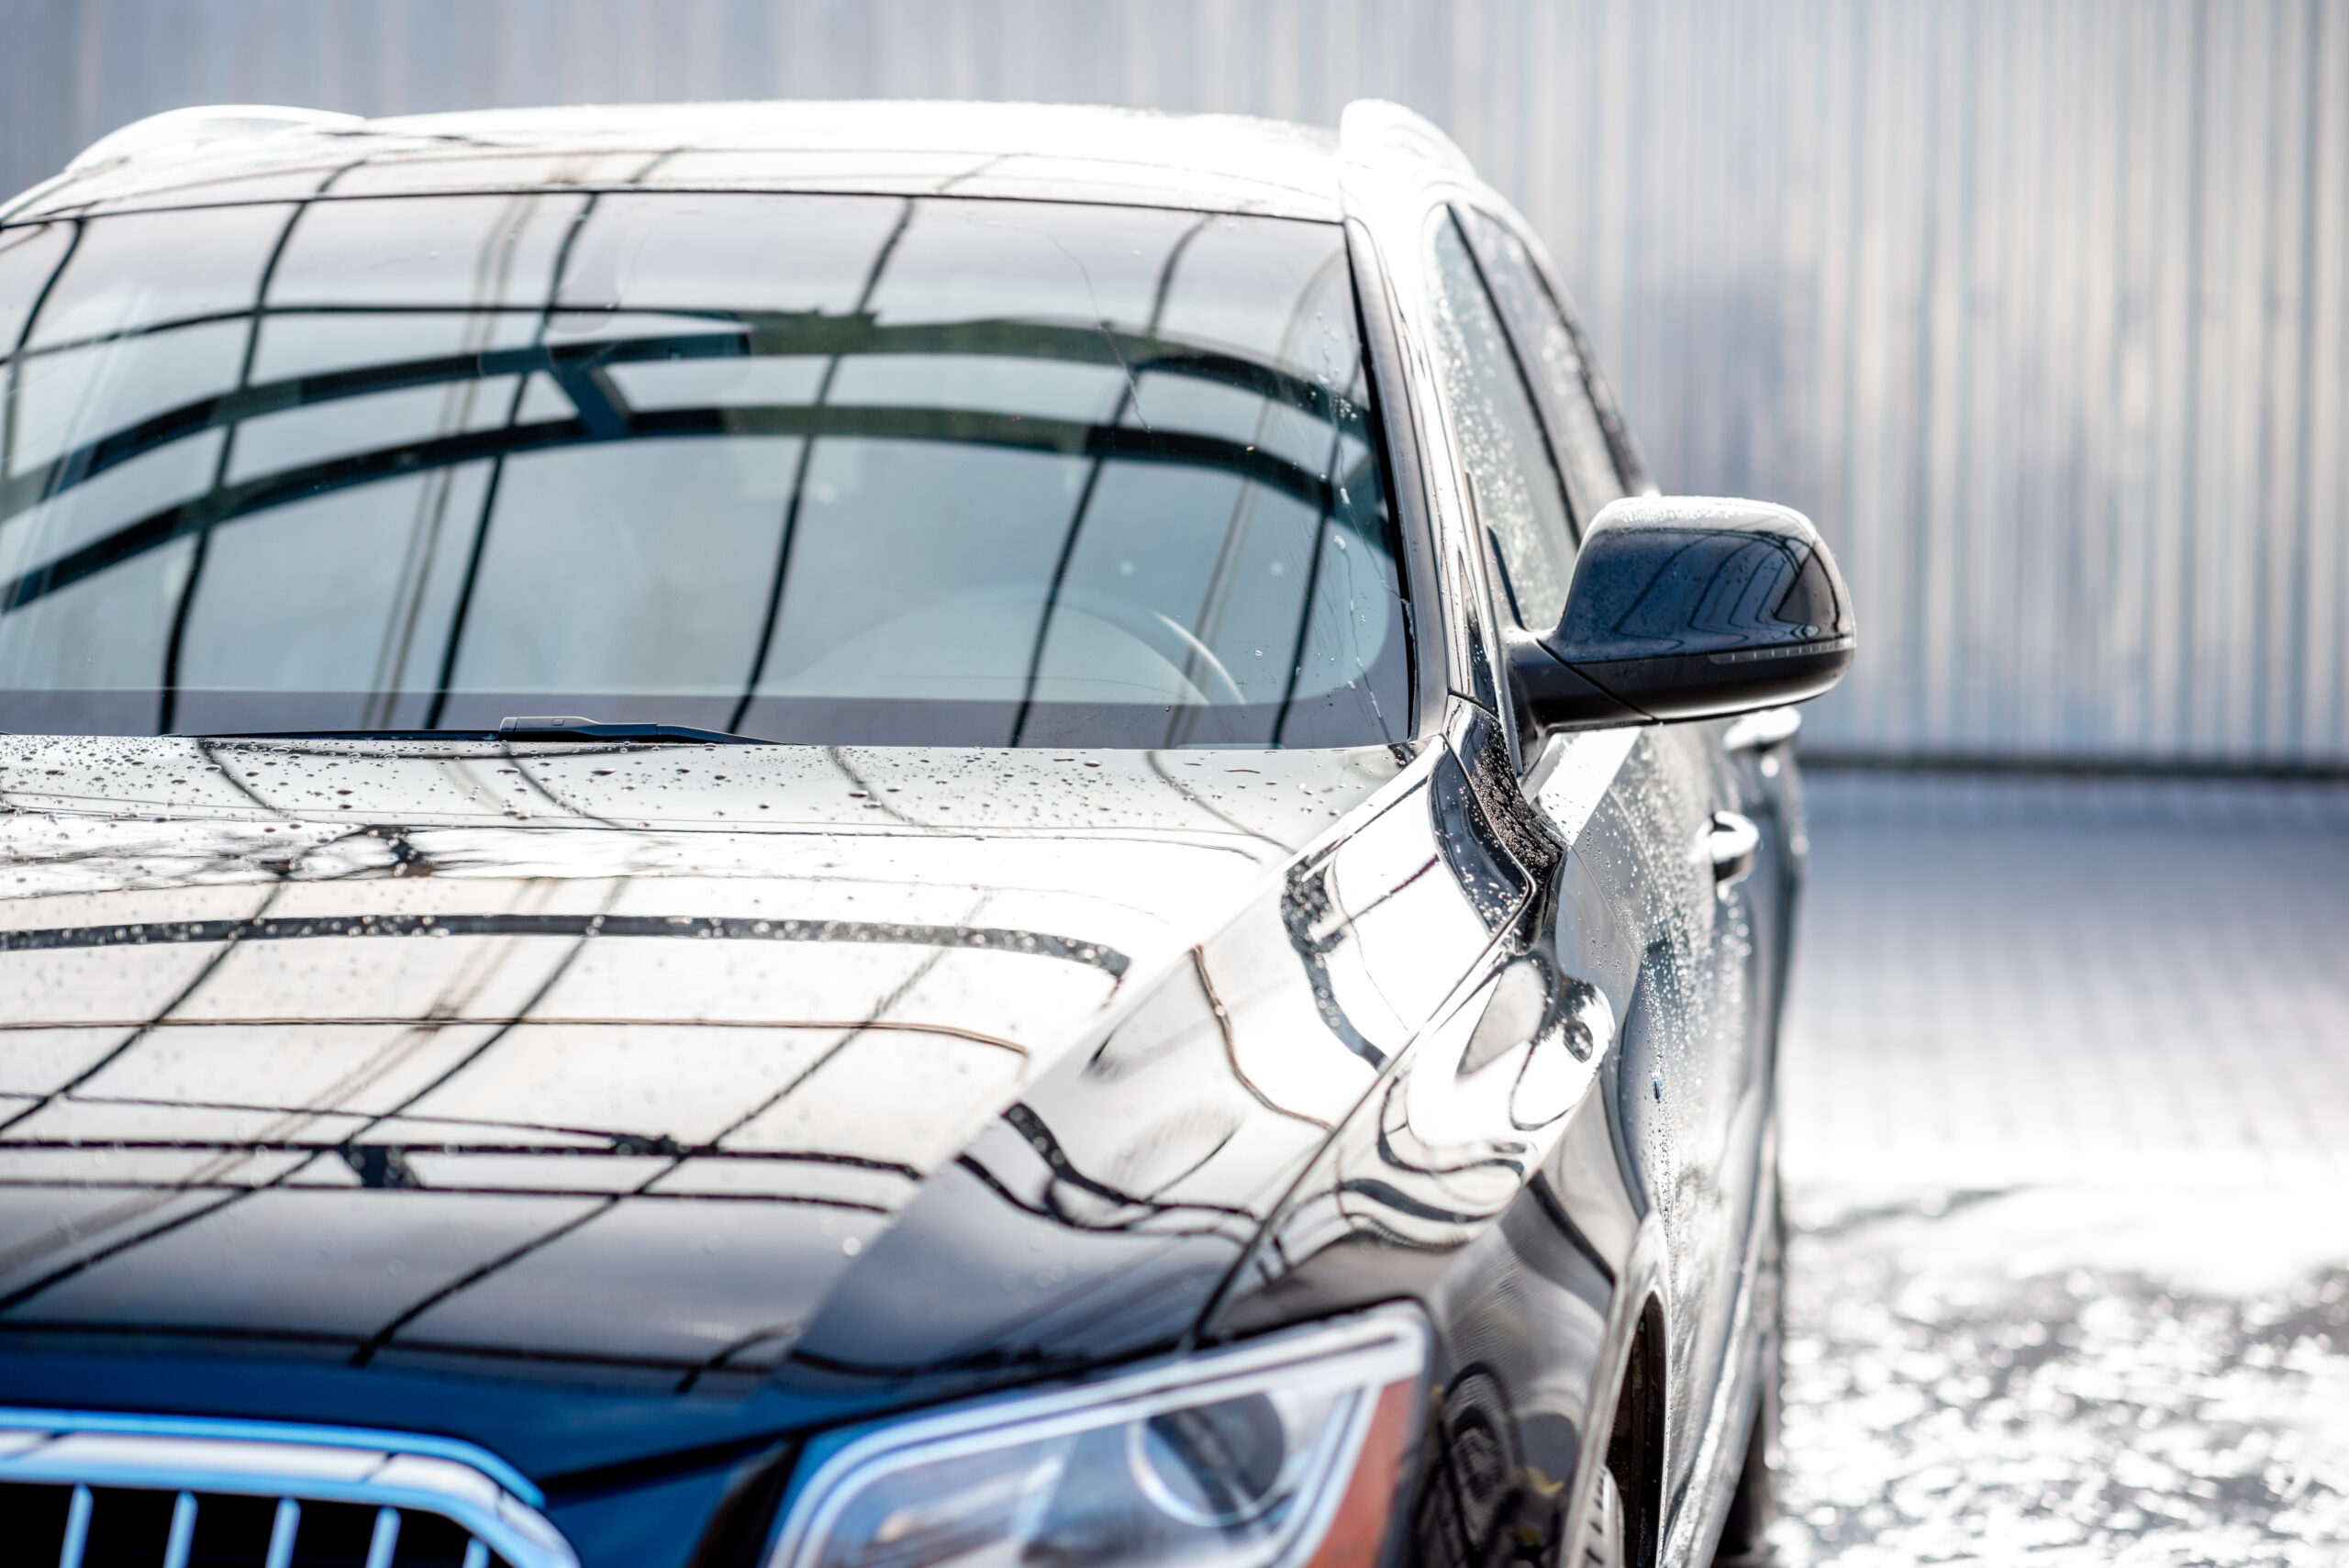



Under carpark lighting, your paint looks fine. Park the same car in direct sun and the bonnet turns into a web of fine circular scratches, with dull patches where the reflection should be crisp. That is what paint correction is for. It removes defects from the clear coat by levelling it with machine compounds and polishes, so the surface reflects light evenly again.
It is also widely misunderstood. Correction is subtractive: every pass removes a few microns from a layer thinner than half a sheet of printer paper. Done well, it is the closest thing to a reset button for tired paintwork. Done carelessly, it strips away protection that only a refinish can put back.
Here is how multi-stage correction works on luxury paintwork, why paint depth is measured first, and where correction ends and refinishing begins.
What Is Paint Correction?
Modern cars wear a layered paint system: primer bonded to the panel, a base coat that carries the colour, and a clear coat on top for gloss and UV protection. Swirl marks, wash marring, light scratches and etching almost always sit in that clear layer. Each defect is a tiny valley with sharp edges that scatter light, which is why a swirled black car looks grey in the sun.
Correction levels the clear coat down to the base of the defects being removed, then refines it until it is optically flat. A glaze, wax or “scratch remover” works differently: it fills defects with oils or resins, and the marks return after a few washes. Correction takes the defect out rather than hiding it, which is exactly why it costs clear coat.
Why Paint Depth Is Measured Before Any Machine Work
Every correction decision comes back to how little clear coat there is to work with. Gauge manufacturer DeFelsko puts most factory paint at 100 to 180 microns in total, with the clear coat usually 35 to 50 microns of that. Its guidance on measuring paint for automotive detailing also notes that most manufacturers recommend removing no more than about 8 microns of clear coat. That is a sixth to a quarter of a typical factory clear layer, and it is a budget for the life of the car, not for each visit.
So a careful correction starts with readings, not a polisher:
- Baseline every panel: there is no single “right” reading, so the technician looks for consistency. A panel reading far thicker than its neighbours has usually been repainted, and one reading thin may already have been polished hard.
- Match the gauge to the material: magnetic gauges read over steel and eddy-current gauges over aluminium, which matters on prestige cars that mix both. Plastic bumpers need an ultrasonic gauge.
- Measure again after cutting: a standard gauge reads total paint thickness, not the clear coat alone, so before-and-after readings show what a cutting stage actually removed.
Edges and the crowns of body lines carry less paint and heat up quickly under a pad, so they are taped off or worked very lightly.
How Multi-Stage Paint Correction Works
Correction is staged so the most aggressive work happens only where it is needed, and each stage removes the marks left by the one before. 3M’s standard operating procedure for random orbital polishing follows the same logic used in collision repair finishing: sand only where required, compound, inspect, then polish.
1. Decontaminate and strip back
The car is washed, decontaminated and clayed, then wiped with a panel prep solvent to remove old waxes and fillers. A previously glazed car often looks worse after this step. That is the honest starting point.
2. Inspect and map
Different light sources reveal different defects, so the paint is checked under several. Defects are mapped panel by panel against the gauge readings, showing where there is room to cut and where there isn’t.
3. Run a test section
A small area is corrected with the least aggressive pad and product first, stepping up only if needed. It is measured before and after, and it sets the recipe for the rest of the car.
4. Cutting
A cutting compound on a firmer pad removes the bulk of the defects. For deeper isolated marks, or orange peel on a previously repaired panel, wet-flatting with very fine abrasives levels the surface first. Flatting removes the most material of any stage, so it is used selectively and always gauged.
5. Polishing and refining
Cutting leaves its own fine haze. A finer polish on a softer pad removes it and restores clarity. On black and dark metallics, a third finishing step brings out the last of the depth.
6. Final inspection
Polishing oils can mask haze, so the paint is wiped down before a final check under multiple light sources and one more set of readings. Only then is it ready for protection.
One-Step, Two-Step and Three-Step Correction
- One-step: a single product that cuts and finishes in one pass. It removes light marring and reduces swirls while using the least clear coat. Often called a paint enhancement.
- Two-step: a dedicated cut followed by a refining polish. The usual level for swirled, lightly scratched paint.
- Three-step: cut, polish and finish, for dark colours, soft paint or a show-standard result.
More steps isn’t automatically better. The right number is the fewest that achieves the result within the paint the car actually has.
Where Paint Correction Ends and Refinishing Begins
This is the part a quote for “full correction” can skip. Correction can only remove what it can reach without going through the clear coat, or so close to it that UV protection is compromised. Past that line, the honest answer is refinishing.
| Defect | Where it sits | Correctable? | Usual fix |
|---|---|---|---|
| Swirl marks and wash marring | Upper clear coat | Yes | One or two-step correction |
| Holograms and buffer trails | Upper clear coat | Yes | Refining polish |
| Light scratches (nail doesn’t catch) | Within the clear coat | Usually | Cut and polish within measured limits |
| Bird dropping or water spot etching | Clear coat, depth varies | If shallow | Correction, or refinish if etched deep |
| Oxidation and fading | Clear coat surface | Early stages only | Refinish once the clear coat breaks down |
| Scratch through to colour or primer | Base coat or below | No | Refinish and blend |
| Stone chips | Paint missing | No | Touch-in or refinish |
| Peeling or flaking clear coat | Clear coat has failed | No | Refinish the panel |
As a rough guide, a scratch that catches your fingernail is usually deeper than correction can safely go. Our guide to luxury car scratch repair covers how specialists assess scratch depth before quoting.
There is also a grey zone: a scratch that could come out, but only by taking the clear coat below a safe reading, particularly on a car corrected before. Reducing it and accepting a faint trace, or refinishing the panel properly, beats chasing perfection through the clear. A burnt-through edge, or clear coat polished thin enough to fail after a few Australian summers, becomes a refinish anyway, at a higher cost.
Why Luxury Paintwork Raises the Stakes
- Harder clear coats: some marques engineer clear coats to resist marring. Mercedes-Benz introduced a clear coat containing ceramic nanoparticles that it said tripled scratch resistance. Hard clears stay sharper for longer, but correcting them takes more cut and more heat, with more risk of haze if refining is rushed.
- Matte and satin finishes: these can’t be corrected at all. BMW’s guidance for its Frozen matte paint is not to polish or wax the car. Polishing flattens the texture that creates the matte look and leaves shiny patches, so a damaged matte panel needs refinishing to its original sheen.
- Previous repairs: a repainted panel may carry a thinner, softer or harder clear coat than the factory paint beside it. Gauge readings reveal this before a pad does.
Correction as the Final Stage of a Refinish
Correction and refinishing aren’t rivals. Once fresh clear coat has been applied and baked, it is flatted and polished to remove dust nibs and match the texture of the factory paint next to it. Combined with accurate factory colour matching and panel blending, that final stage is what makes a repair disappear in direct light.
That is how AMA Prestige’s luxury paint refinishing service approaches it: wet-flatting, correction and polishing remove orange peel, haze and micro-marring, followed by colour-correct inspection lighting and gloss measurement. Where a panel only needs correction, the same measured approach applies. Where it needs more, you’ll be told.
Paint Correction FAQs
Does paint correction remove clear coat?
Yes. Correction works by levelling the clear coat, so every stage removes some of it, typically a few microns. That is why reputable technicians measure before and after cutting, and why a car shouldn’t be heavily corrected every year.
Can paint correction fix rock chips?
No. A stone chip is paint that has been knocked off, so there is nothing to level. Chips need a touch-in repair or, on a heavily chipped panel, a refinish.
How long does paint correction last?
Removed defects don’t come back, because they no longer exist. New swirls form over time from washing and drying, so the result depends on wash technique and protection. Our prestige vehicle aftercare guide covers the habits that keep a corrected finish clean.
Do you need paint correction before a ceramic coating or paint protection film?
Usually, yes. A coating or film locks in whatever is underneath, and clear film makes defects below it easier to see. Our comparison of paint protection film and ceramic coatings explains the difference between the two.
Final Thoughts
Paint correction is one of the most effective things you can do for tired luxury paintwork, provided the person doing it measures what they remove and tells you when a panel needs more than a polish. Good correction is judged by the clear coat left behind as much as by the shine.
Not sure which side of the line your paint falls on? Start an online assessment with a few photos taken in direct light, or get in touch to book an inspection at your nearest AMA Prestige centre.